How to Install Mud Flaps: Tools, Templates, Alignment Tips, and Troubleshooting
Learning how to install mud flaps correctly is one of the most practical upgrades you can make to a truck, SUV, or off-road vehicle. Mud flaps, also called splash guards, protect paint, undercarriage components, and surrounding vehicles from mud, rocks, salt, and road debris. Proper installation ensures maximum protection, long-term durability, and a clean, professional appearance.
This complete mud flap installation guide covers tools, templates, alignment techniques, no-drill options, and troubleshooting so you can install factory-style or heavy-duty aftermarket splash guards with confidence.
Why Proper Mud Flap Installation Matters
Correct installation affects far more than appearance. Poorly mounted splash guards may rub against tires, trap moisture, or fail to block debris effectively. Misalignment can stress mounting points and cause premature wear.
Proper mud flap mounting ensures consistent debris deflection, long-term durability, safe clearance from tires, and reduced vibration or noise.
Tools and Materials Needed for Mud Flap Installation
Gathering the right tools before starting prevents rushed decisions and installation errors.
Common Tools
| Tool | Purpose |
|---|---|
| Ratchet or socket set | Securing mounting hardware |
| Screwdrivers | Removing factory screws and clips |
| Torque wrench | Tightening to manufacturer specs |
| Measuring tape or ruler | Ensuring even placement |
| Marker or grease pencil | Marking hole locations |
| Safety gloves and eye protection | Personal safety |
| Drill and drill bits | Required for some universal kits |
Many modern kits support a no-drill mud flap install by using existing factory mounting points.
Included Materials
Most kits include splash guards, mounting brackets if required, bolts, screws, washers, clips, and sometimes installation templates.
Confirming Vehicle-Specific Fitment
Vehicle fitment plays a major role in installation success. Trucks with suspension lifts, oversized tires, or aftermarket wheels require additional clearance checks.
Always verify that the mud flaps are designed for your specific make, model, year, and trim. Vehicle-specific kits reduce guesswork and often include detailed mud flap mounting instructions that match factory hole locations and fender liner shapes.
Pre-Installation Preparation
Start by parking on a level surface and engaging the parking brake. Turn the front wheels outward for easier access or remove wheels if recommended by the manufacturer.
Clean the wheel wells thoroughly to remove dirt, mud, and debris. Inspect factory screws and clips, as many no-drill mud flap installs reuse these attachment points.
Using Templates for Accurate Mud Flap Placement
Templates help ensure consistent alignment and spacing. If included, tape the template securely in place and verify measurements before marking holes. Confirm tire clearance before drilling.
If no template is provided, hold the mud flap in position and align it with body lines and the wheel arch. Measure from fixed reference points on both sides of the vehicle to maintain symmetry.
Accurate placement at this stage prevents uneven appearance and clearance issues later.
Step-by-Step Mud Flap Installation Guide
-
Loosely attach the top mounting points first to allow the splash guard to hang naturally.
-
Align the bottom and side mounting points.
-
Turn the front wheels from lock to lock to confirm tire clearance.
-
Adjust positioning as needed.
-
Tighten all hardware to manufacturer specifications.
-
Repeat on the opposite side using measurements for consistency.
Never skip the tire clearance check, especially on vehicles with larger or aftermarket tires.
Understanding No-Drill Mud Flap Installation
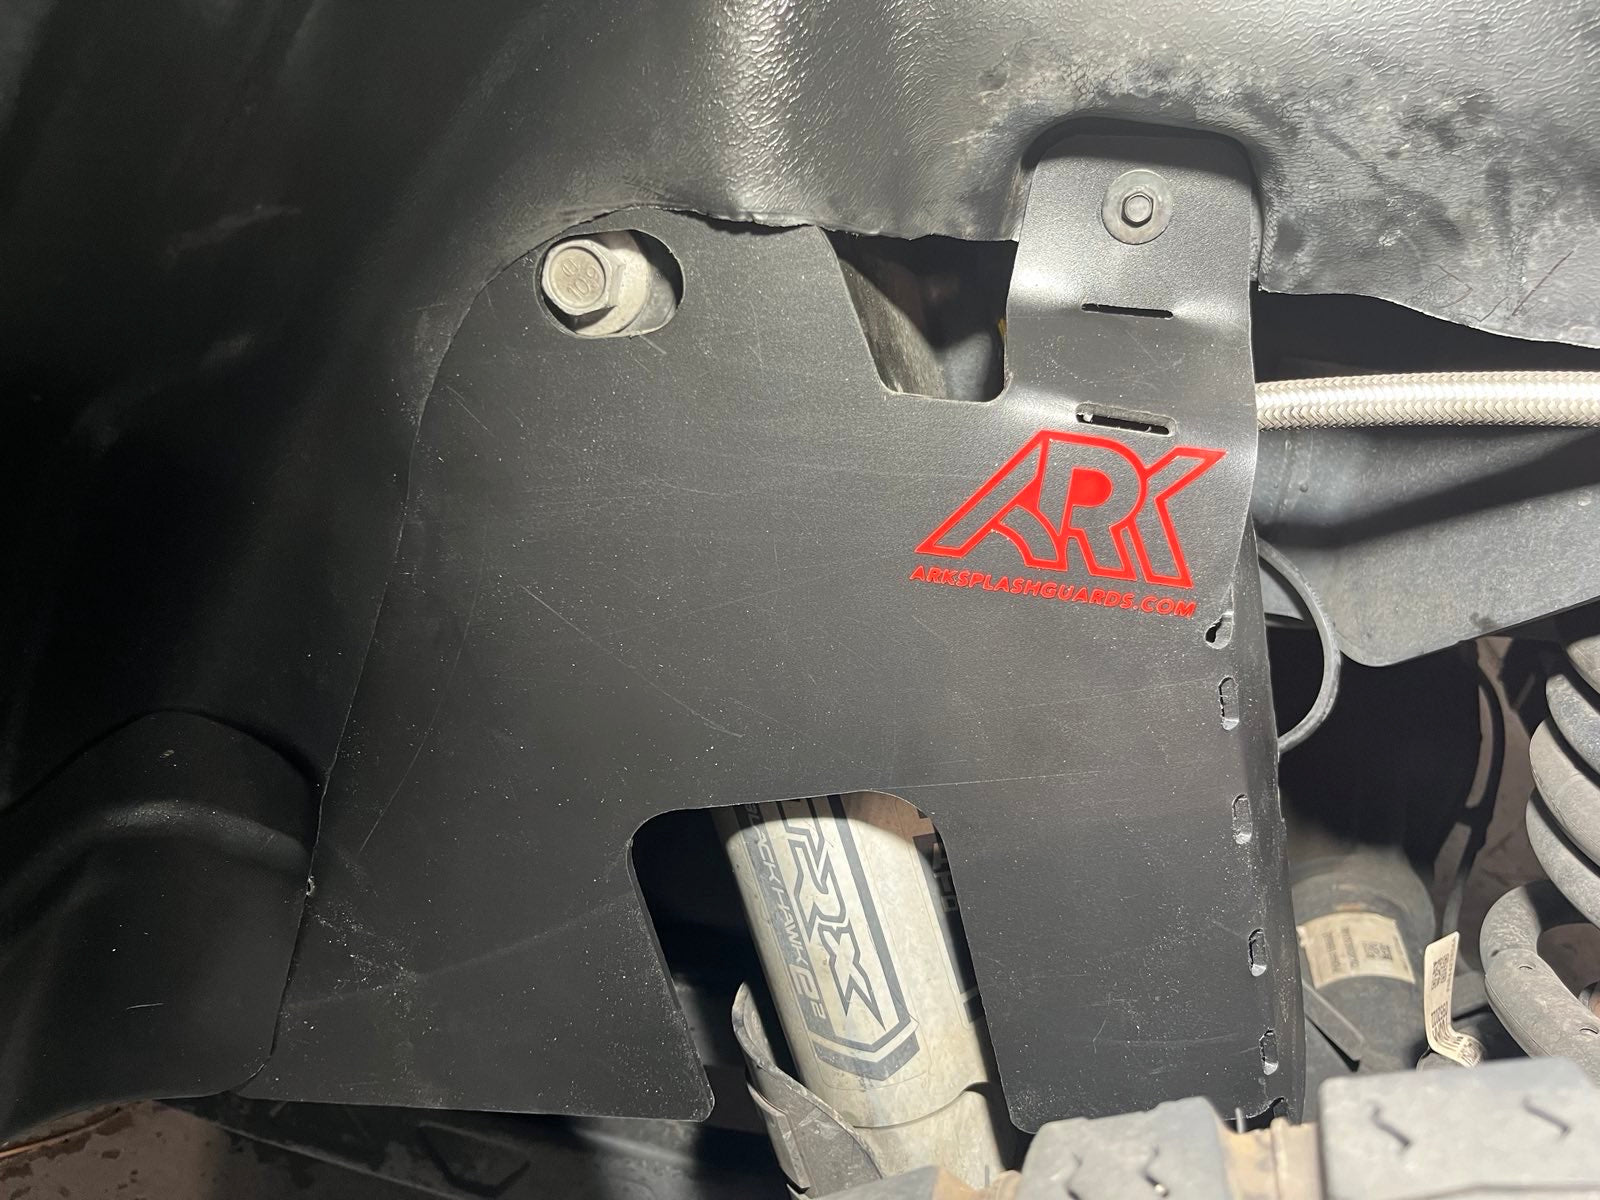
A no-drill mud flap install uses existing factory holes in the fender liner or body. These kits often include custom brackets designed for precise fitment.
Because factory mounting points were not originally designed for accessories, proper torque and secure fastening are critical. Take extra care to reinstall factory clips and screws correctly to prevent loosening during highway or off-road driving.
Rear Mud Flap Installation Considerations
Rear splash guards typically install more easily than front ones because they do not need to accommodate steering movement. However, alignment remains important.
Check exhaust clearance, especially on trucks with side-exit exhaust systems. Ensure consistent spacing between the tire and mud flap to maintain effective debris control and visual balance.
Common Mud Flap Installation Mistakes
Avoiding common mistakes saves time and prevents damage.
Frequent Installation Errors
| Mistake | Result |
|---|---|
| Skipping tire clearance check | Rubbing and premature wear |
| Relying only on visual alignment | Uneven appearance |
| Over-tightening hardware | Cracked flaps or stripped threads |
| Under-tightening hardware | Vibration and noise |
| Mixing hardware between sides | Poor fitment |
Following the provided mud flap mounting instructions reduces these risks significantly.
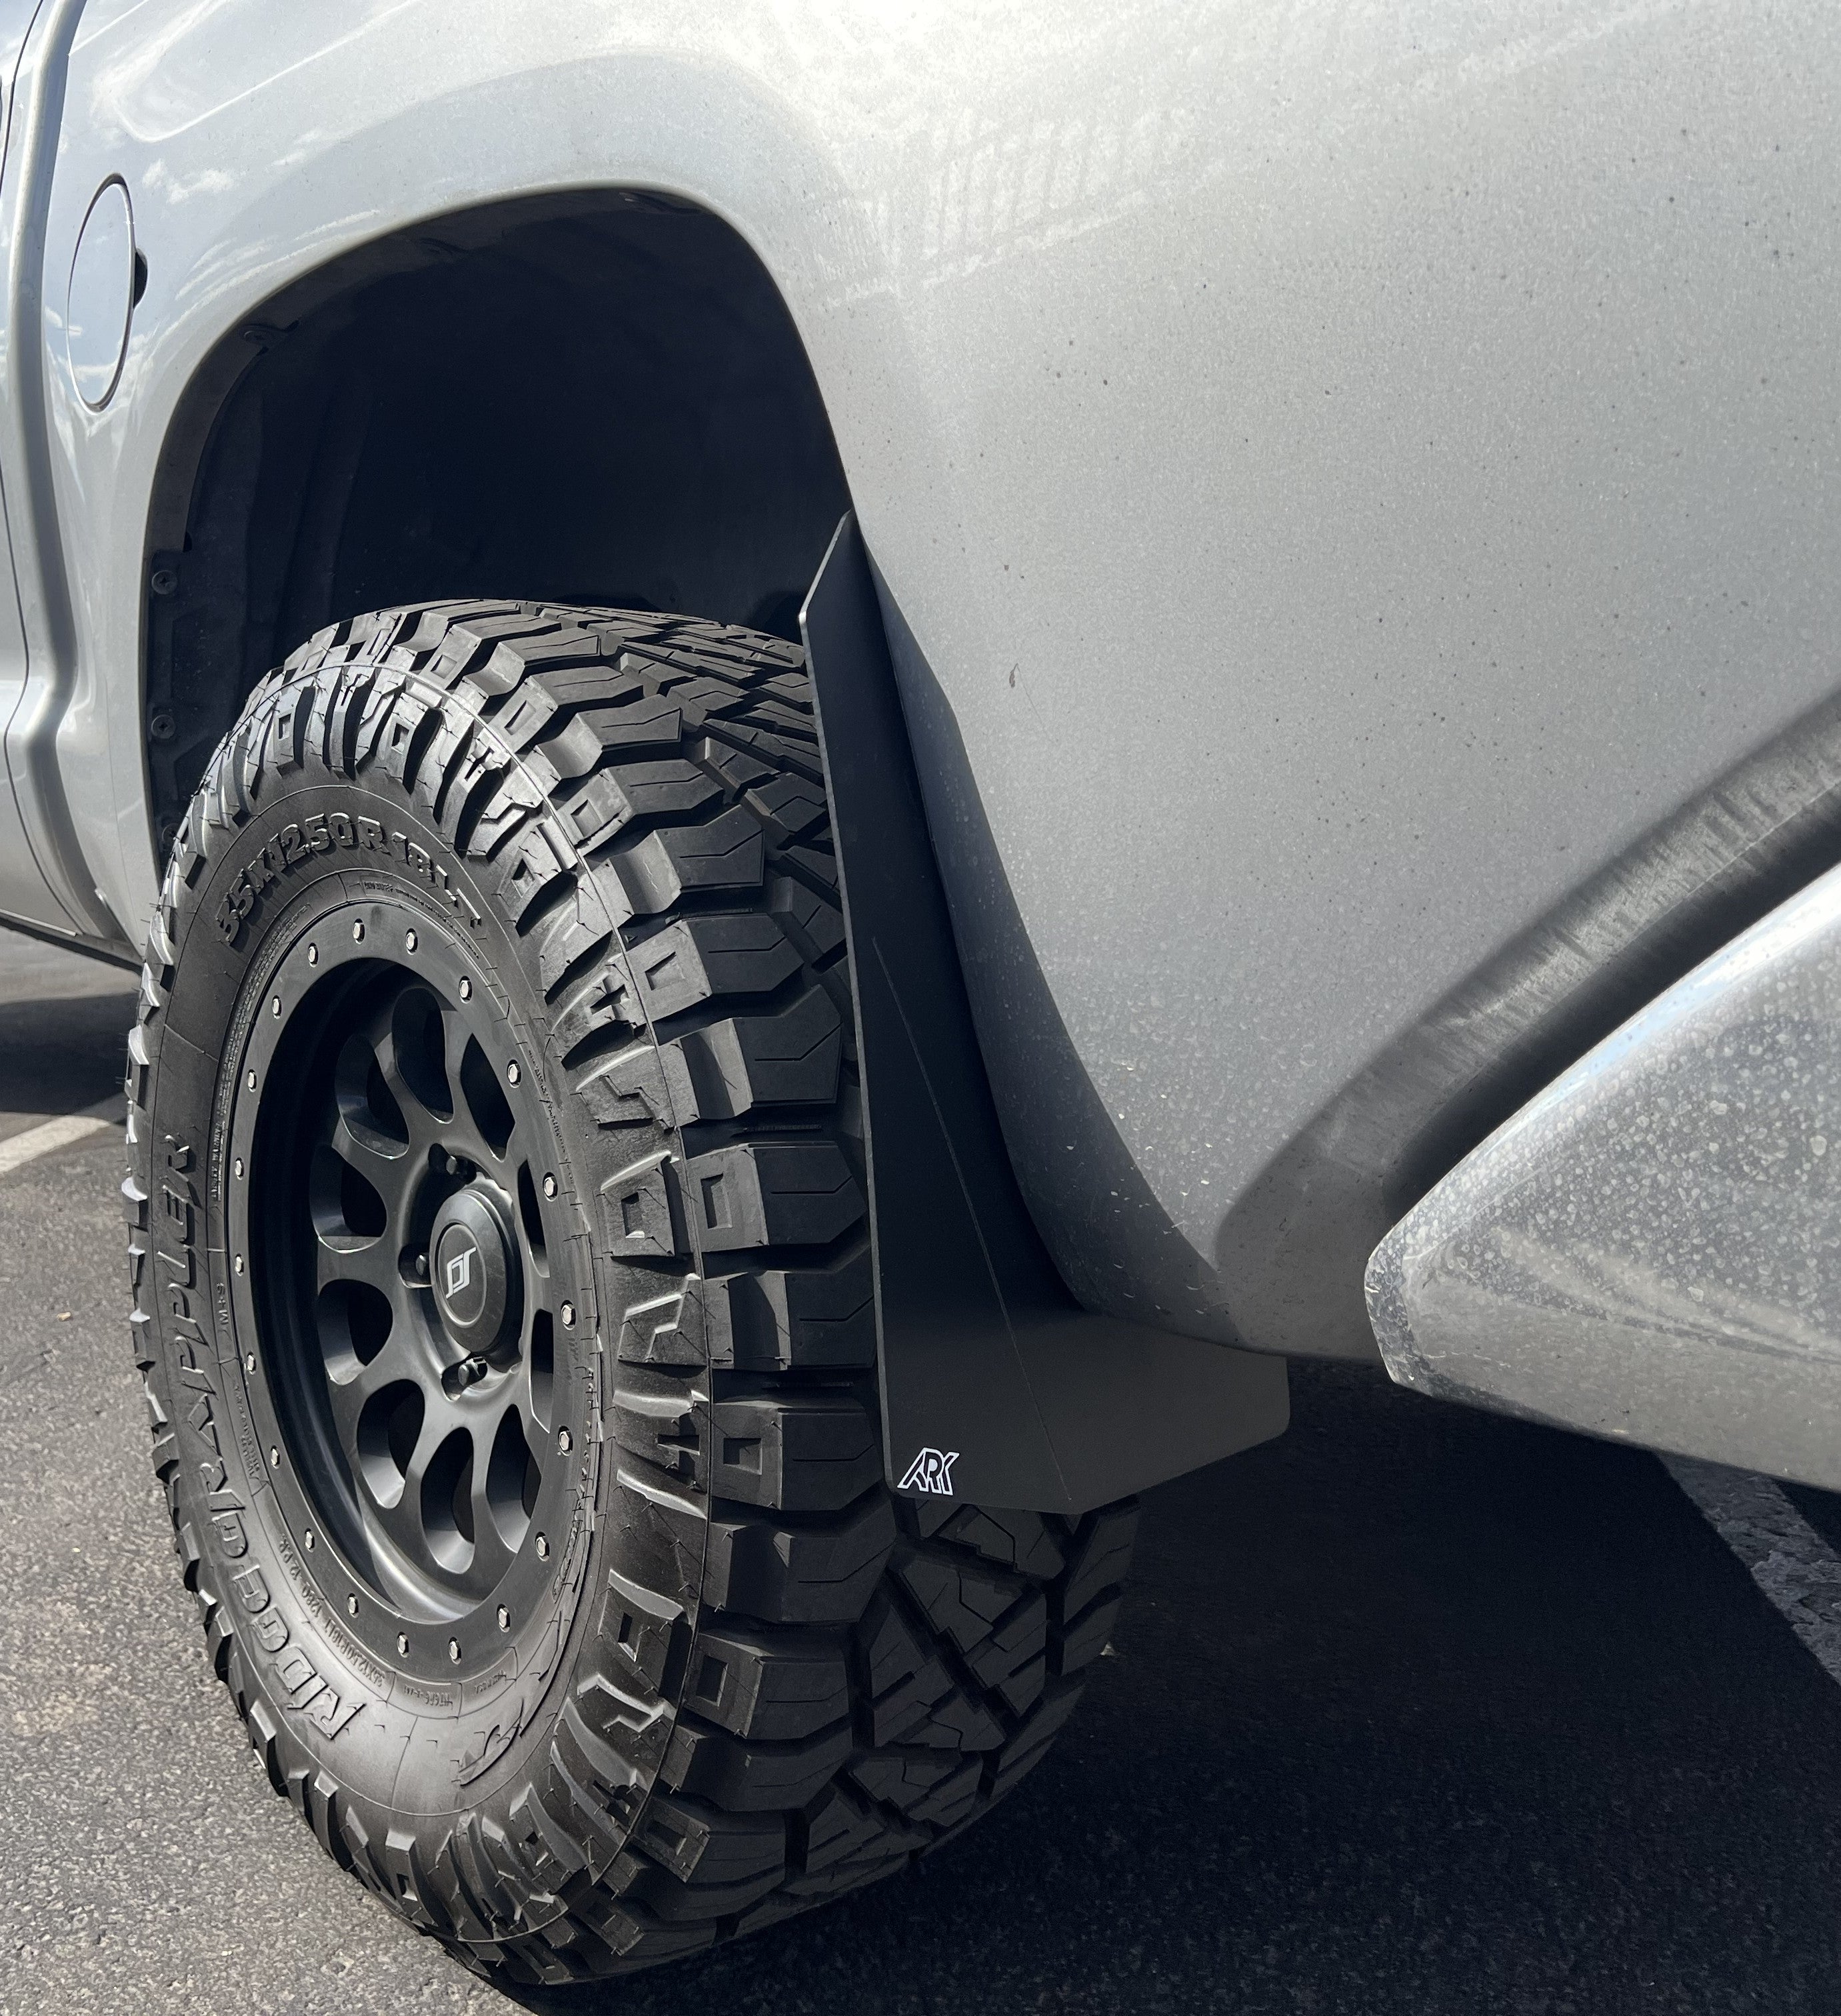
Mud Flap Alignment Tips for a Clean Finish
For a professional look, view the vehicle from multiple angles before final tightening. The bottom edge of each mud flap should be parallel to the ground unless otherwise specified.
Using a level can help confirm alignment. Proper positioning ensures even debris deflection and minimizes stress on mounting points.
Troubleshooting Mud Flap Fitment Issues
If a splash guard does not sit flush, check for interference with inner fender liners or trim. Minor bracket adjustments often resolve the issue.
If holes do not align, verify that the correct flap is installed on the correct side. Many kits are side-specific.
For vibration or rattling, inspect all mounting points and add washers or thread locker if recommended by the manufacturer.
Maintenance After Mud Flap Installation
Inspect the mud flaps after the first week of driving and periodically thereafter. Temperature changes, vibration, and off-road use can cause hardware to settle.
Clean behind the splash guards regularly to prevent dirt buildup and corrosion. Retighten hardware as needed to maintain secure fitment.
Install With Confidence Using Quality Splash Guards
Installing mud flaps or splash guards is a straightforward upgrade that delivers long-term protection when done correctly. By following a detailed mud flap installation guide, using accurate alignment techniques, and avoiding common mistakes, you can achieve durable results for daily driving or off-road use.
If you are looking for premium splash guards designed for real-world conditions, ARK Splash Guards offers durable, vehicle-specific solutions built in the USA. Based in Phoenix, Arizona, ARK Splash Guards is a family-owned company founded by off-road and outdoor enthusiasts who understand the demands placed on trucks and SUVs. Explore splash guards engineered for adventure and built to protect with confidence.